

Digital Display Hot Plate: Causes & Solutions for No Heating Fault
Troubleshooting Guide
Product Introduction
Digital display hot plates are widely used in laboratories and chemical production for large-scale heating, digestion, boiling, baking, drying and other temperature-related experiments. Featuring fast temperature rise and stable heating performance, our digital hot plates are customizable. With decades of R&D and manufacturing experience in heating equipment, we welcome customers to visit our factory and contact us for inquiries.
Equipment failures may occur during operation. This guide analyzes the causes of the “no heating” fault and provides step-by-step troubleshooting methods.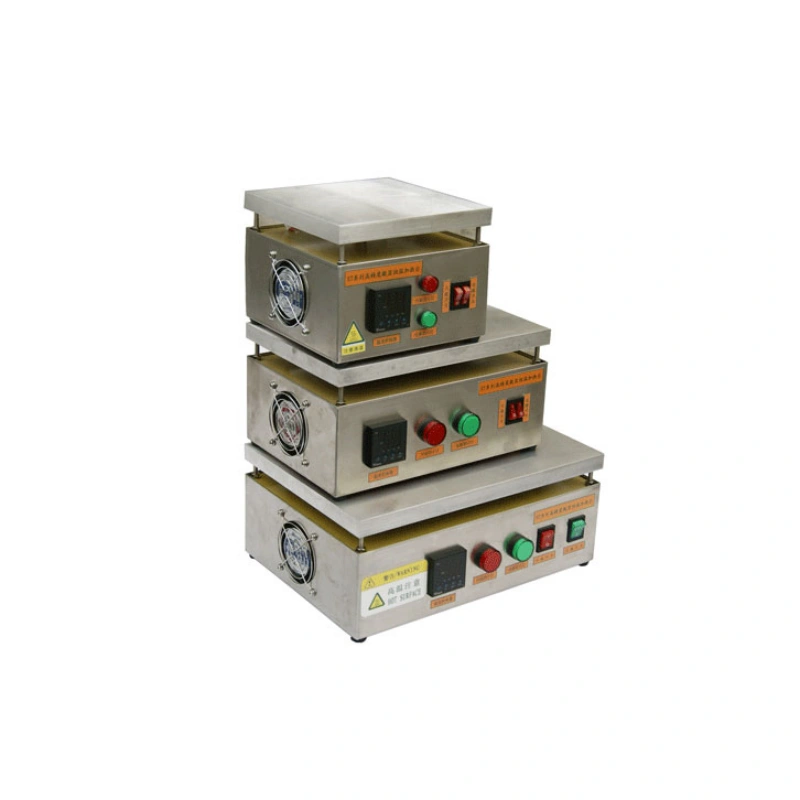
Causes of No Heating Fault
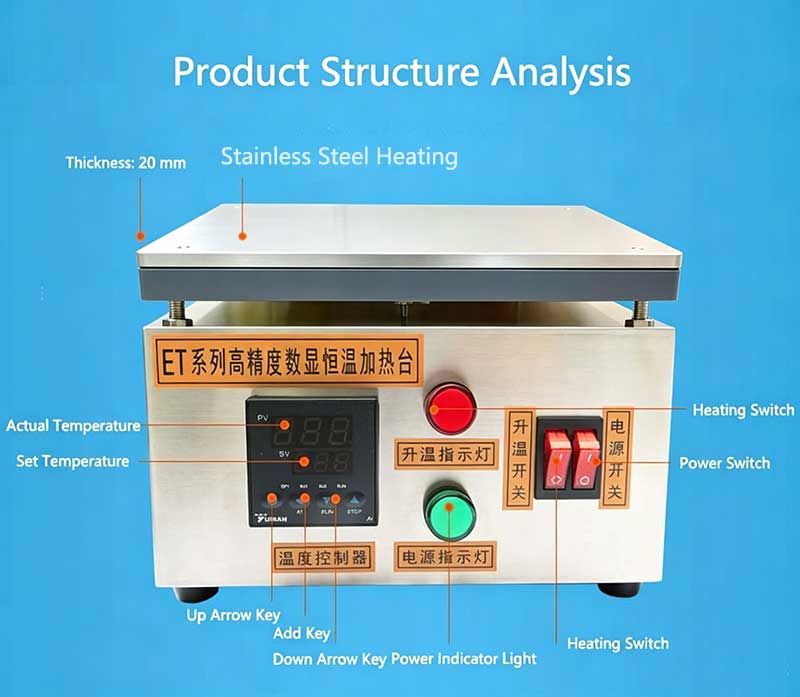
After powering on the digital hot plate and turning on the heating switch but the unit fails to heat up, the 4 main potential causes are listed below:
- Damaged heating element (most probable)
- Faulty heating switch
- Damaged relay
- Defective temperature controller
Fault Detection & Troubleshooting Procedures
Open the bottom cover of the heating plate and perform inspection in the following sequence. Warning: Pay attention to electric shock hazards during live testing.
- Test Heating Tube
Cut off all power supply first. Set the multimeter to resistance mode. Disconnect the wires of the heating tube and test each branch separately. Normal resistance ranges from tens to around 200 ohms. Infinite resistance or near-zero resistance indicates a broken heating tube; replace it. - Test Heating Switch
Disconnect power first. Switch multimeter to continuity mode. Toggle the power switch to ON position. Measure the switch terminals. If both circuits conduct, the switch works normally; otherwise replace the switch. - Test Solid State Relay
Power on the device with caution against electric shock. Turn on heating switch. If the indicator light of SSR lights or flashes, the input side is normal. If no light, measure terminals 3 and 4 of SSR for 12VDC. No 12VDC means defective temperature controller. Switch multimeter to 750VAC range, measure terminals 1 and 2 of SSR. Constant 220VAC without change means the SSR is damaged and needs replacement. - Test Temperature Controller
Power on the unit and turn on heating. Check if the temperature display works normally. Set multimeter to 20VDC DC range and measure terminals 3 and 4 of SSR. Absence of 12VDC output indicates the temperature controller is faulty and needs replacement.
If your team has technical staff, self-inspection and repair can save time and cost. If the fault cannot be fixed, please contact our factory after-sales service for support.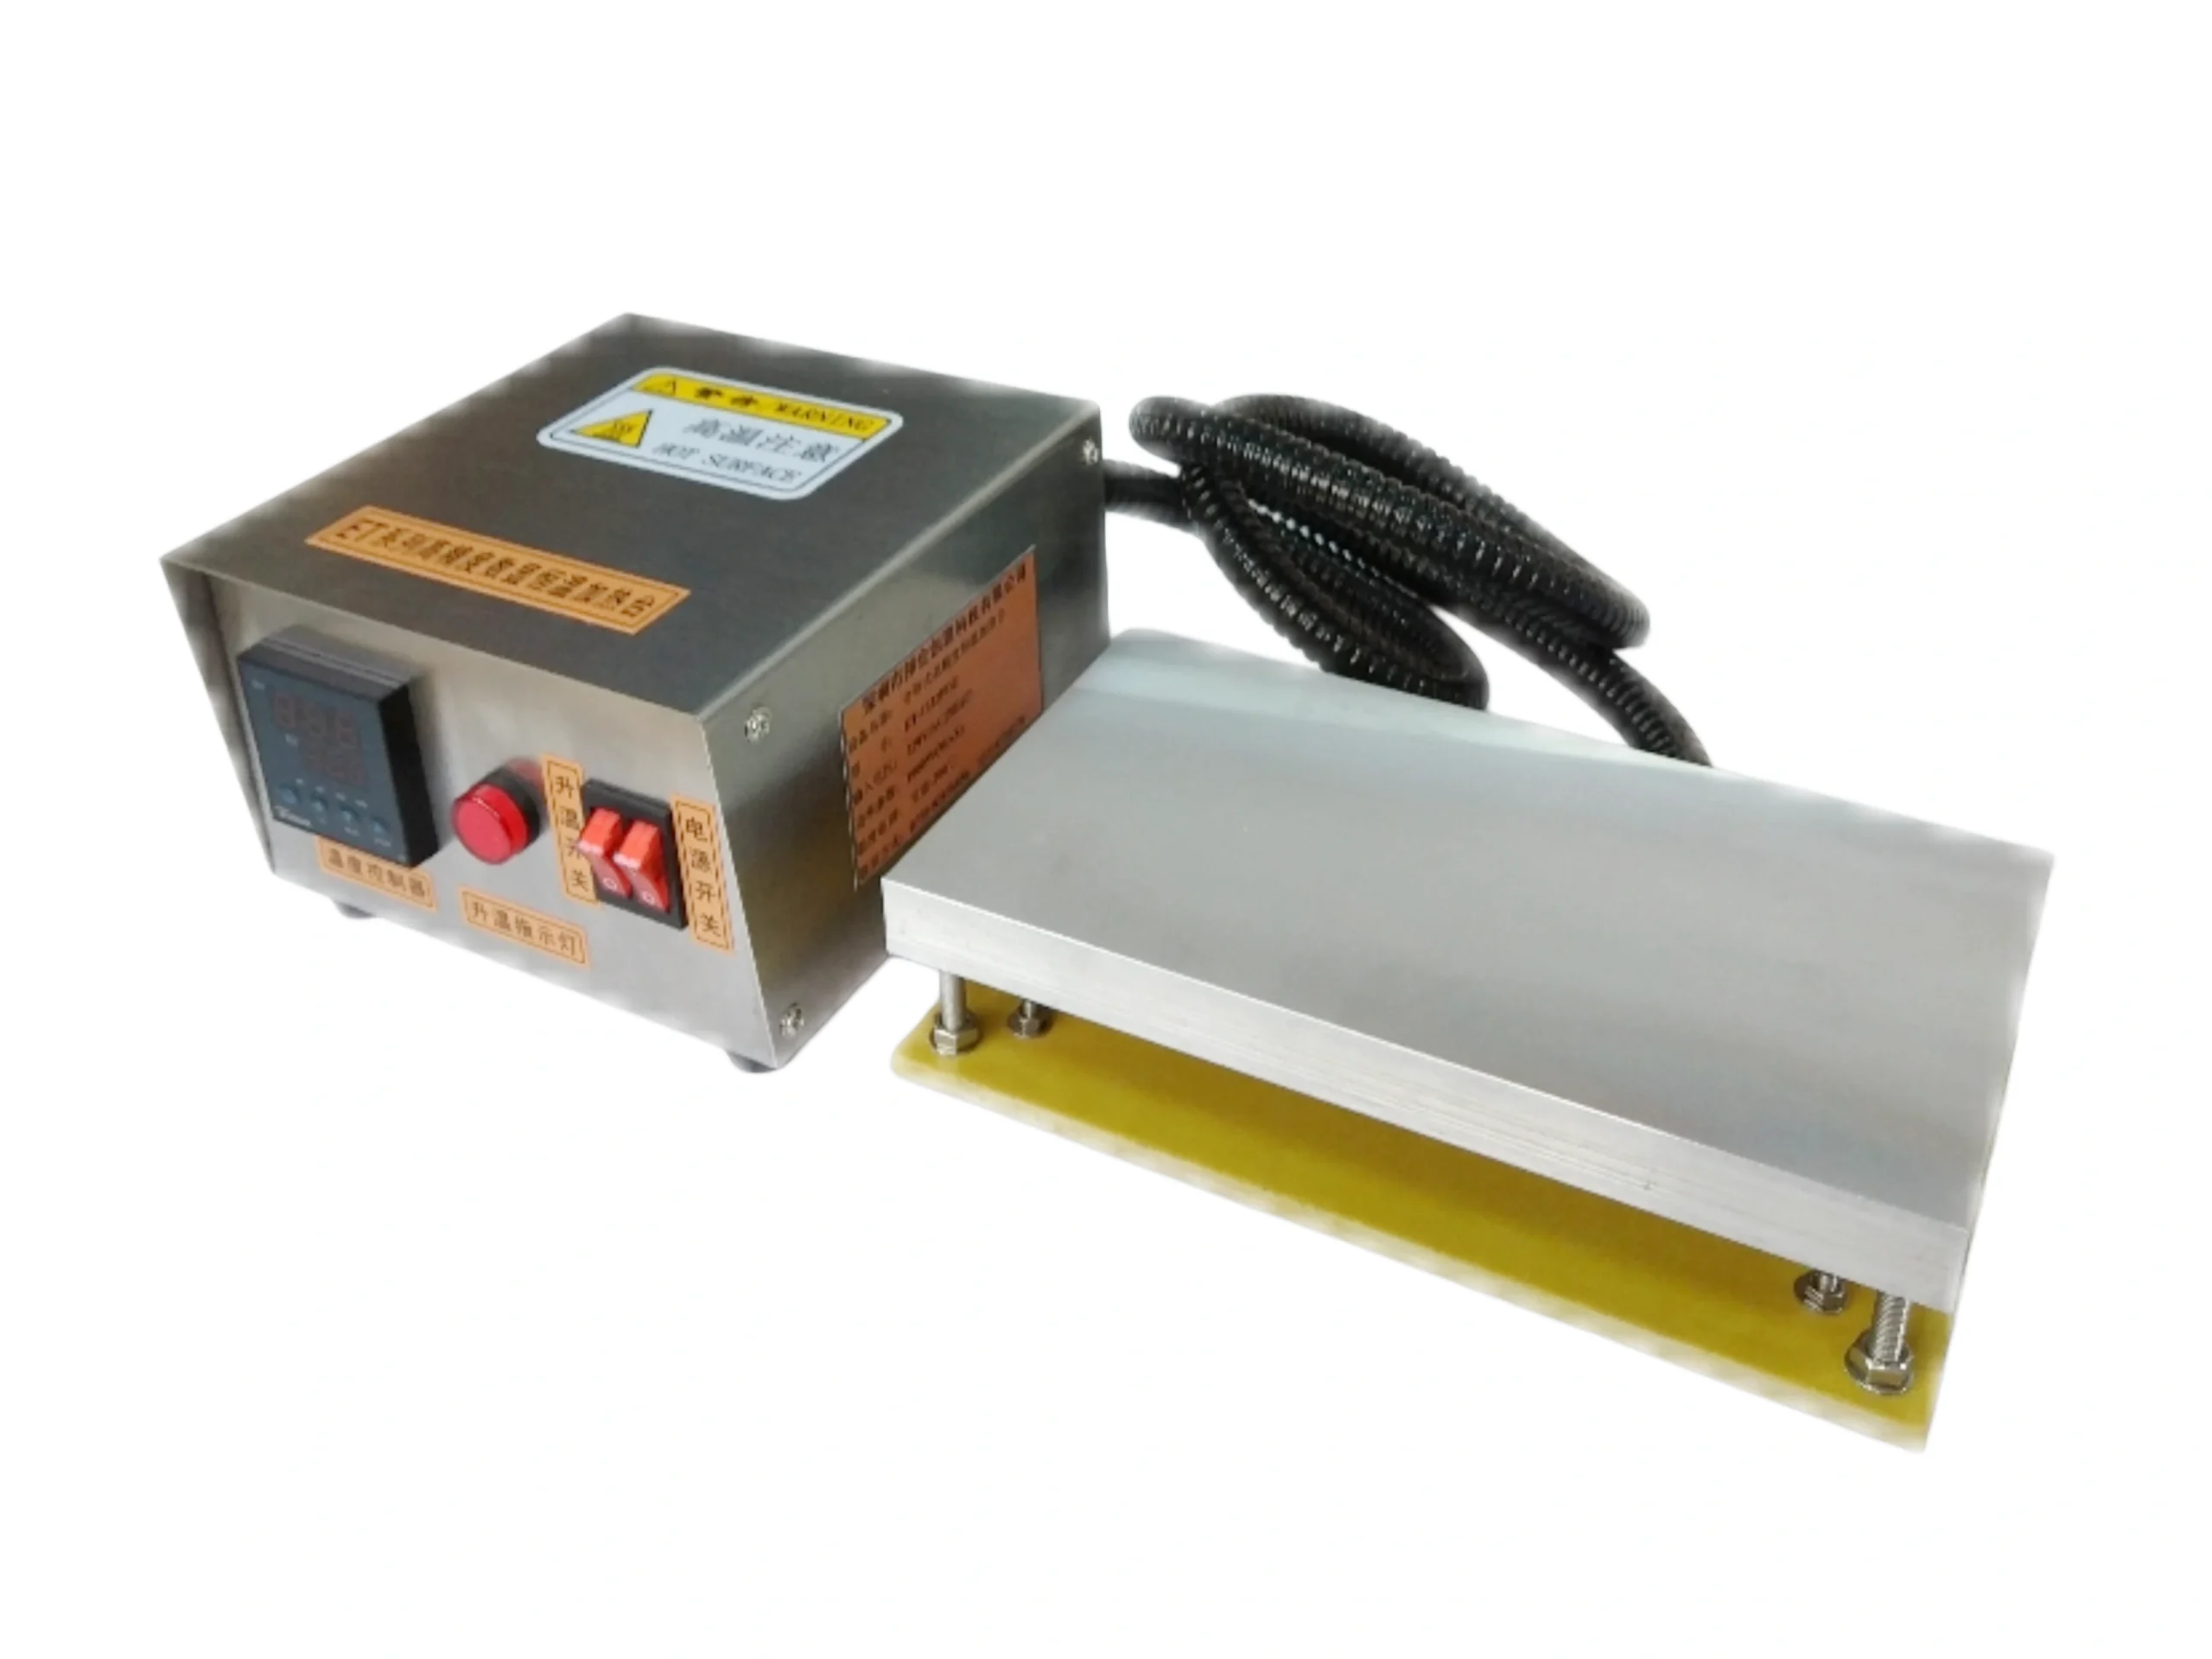
Safety Reminders
- Always disconnect power before disassembling the equipment for maintenance.
- Live voltage measurement must be operated by professional technicians with insulation protection.
- Do not continue operating the device if any electrical component is damaged.

Component Reference Table
| Heating Tube Normal Resistance | Tens ~ 200 Ω |
| SSR Control Signal | 12VDC |
| Main Working Voltage | 220VAC |
| Application | Lab heating, digestion, drying, boiling |
WeChat
Scan the QR Code with WeChat